
Master the perfect brunch photo with these 7 hacks
Master the perfect brunch photo with these 7 hacks
- Publication
- Reading time 5 minutes
Food photography has become an art on Instagram, and with the sophistication of smart phone cameras, amateur photographers, influencers, regular cafe goers and home masterchefs alike make capturing photos of beautiful brunches featuring perfectly poached eggs look easy.
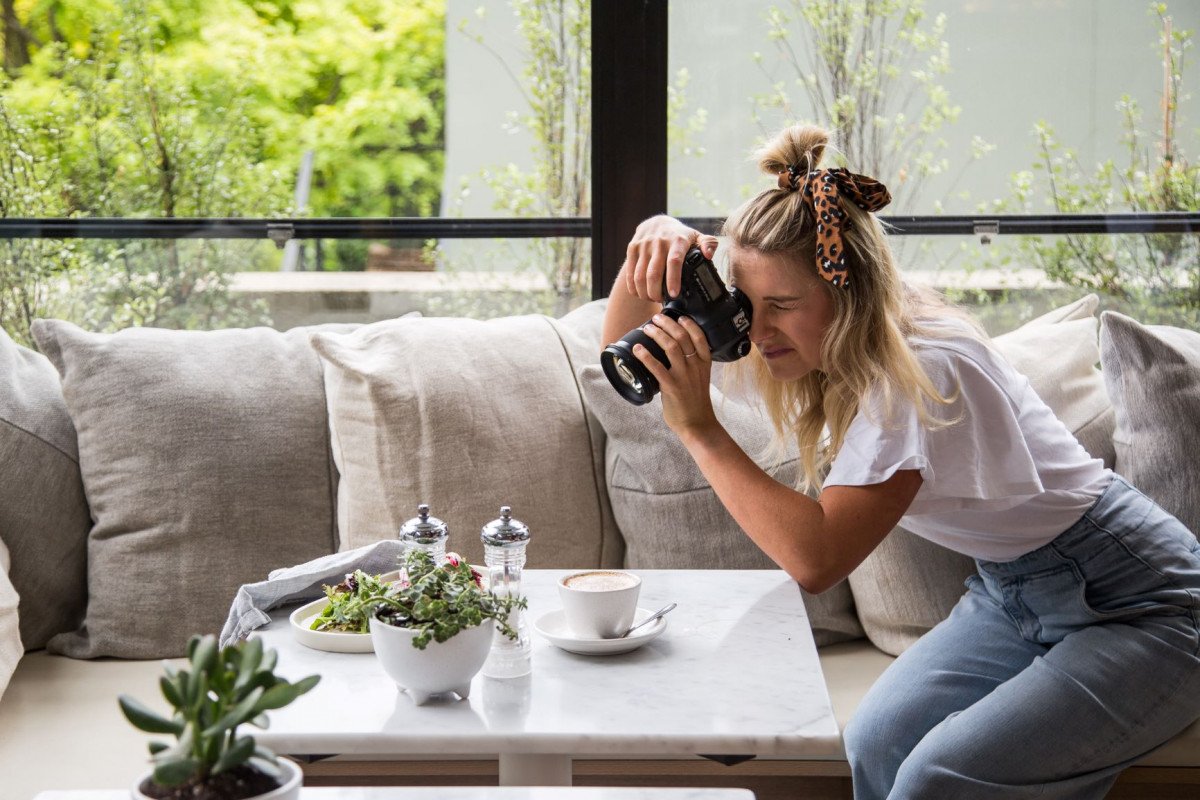
So, how do you nail the perfect shot? We teamed up with Australian food photographer and author, blogger, Instagram addict and breakfast lover Sally O’Neil of The Fit Foodie, to share her essential tips for capturing #eggscellent pictures worthy of the ‘gram.
Check out Sally’s top tips below to find out how you can capture stunning lifestyle photos at home or in your nearest cafe.
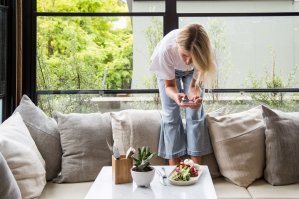
1. Move your subject to the light
Natural light is the most crucial tool in any food photographer’s toolbox. Even better if it’s a little cloudy outside for that soft, filtered light. The same effect can also be achieved by moving to a seat by a window or opening a blind. Do everything in your power to maximise the available natural light - this is your best chance at getting a beautiful shot.

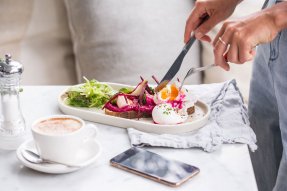
2. Shoot on a light and bright background
Brunch spots that have white marble tables make beautiful photos so much easier, but any white background will do the trick. White will make your subject pop, resulting in beautiful light and airy photos – perfect for relaxed morning eats! The darker the interior of the cafe, the moodier the image will be. On the flip side, a white interior will bounce light back onto your subject, making it glow and look even brighter.

3. Add texture
One of the best ways to add interest to your shot is through texture, which provides detail and all-important contrast to the food. Break up blocks of colour by using salt, pepper, chilli flakes and herbs. To frame the outside of the dish, use a light grey or white wrinkled linen napkin to add a beautiful layer to the background, or cover up anything that doesn’t photograph well, like wooden tables with an orange tinge.

4. Play with your food
Don’t be afraid to re-arrange the food on your plate to improve how each element is placed. I also love to gently cut open poached eggs, so the yolk spills out, and quickly capture this in action. You can really show how fresh and delicious food is when it has some movement. Another tip is lifting salad, to give it more volume, and re-stacking wonky waffles. Wipe any splashes or spills (if the kitchen hasn’t already done so) to make the plate to look clean and appealing. And carry baby wipes - that helps with spills and splashes too.
5. Use props to create interest
Use small props to add interest to your photo but ensure they don’t distract from the food. Cutlery, sunglasses, pepper pots, flowers, latte art, glassware and menus can all help set the scene. You can even place your dish on the edge of the table and capture some of the floor in the background, if there’s some beautiful tilling or floorboards, to add extra depth and interest to the shot. The ‘rule of odds’ states that an odd number of elements in a frame is much more visually interesting than having an even number. Remember to only use props that make sense in the shot and try not to overdo them.
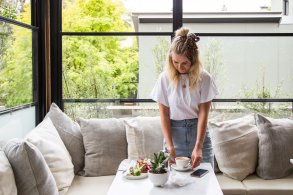
6. Shoot overhead
Overhead (flat lay) shooting is the easiest way to nail your food shot to avoid people in the background and dark shadows over your food. Positioning yourself directly over your food always seems to produce the most consistent, beautiful results. However, if you’re shooting a burger or pancakes, shoot at 90 degrees to capture that beautiful stack and the ingredients inside, and aim to use a plain wall as your background to keep the distractions to a minimum.
7. Nail the edit like a pro
One of the most crucial aspects of your photography is getting the right edit on your snap. The ‘Lightroom’ photo editing app presets are a great way to edit with consistency, but don’t be afraid to tweak the contrast, brightness and saturation to suit the lighting conditions of your photo. I also like to use the ‘tooth whitening’ tool on the ‘Facetune’ photo editing app to keep all shades of white the same in my feed where possible.

To whip up your own perfect brunch at home click here to try some of our breakfast recipes.
Related Articles
Recipes to Master by 30: 3 Top Chefs Weigh In
Cooking can be a real challenge, especially for young Australians who often feel the heat in the kitchen.

It's Pancake Day! 9+ Creative Recipes That Are Flippin' Delish
Pancake Day is just around the corner!
If you want to jazz things up beyond the traditional pancake this year.


Want to see what an egg farm looks like? Take this interactive 360 degree tour to see how eggs are produced in Australia.